
The ATO Deacon
By Nick Christofeno
Hook: Standard Size 12 nymph hook
Thread: UTC Green Olive 140 denier
Bead: Tungsten Orange 5/32"
Rib: UTC Ultra Wire Copper size Small
Dubbing: Orvis Rainbow Sow scud dark dubbing
Wingcase: UTC Mirage Pearl Tinsel Large
Thorax: Peacock green dubbing
Tail: Pheasant Tail
Hackle: Grizzly Soft Hackle or partridge hackle
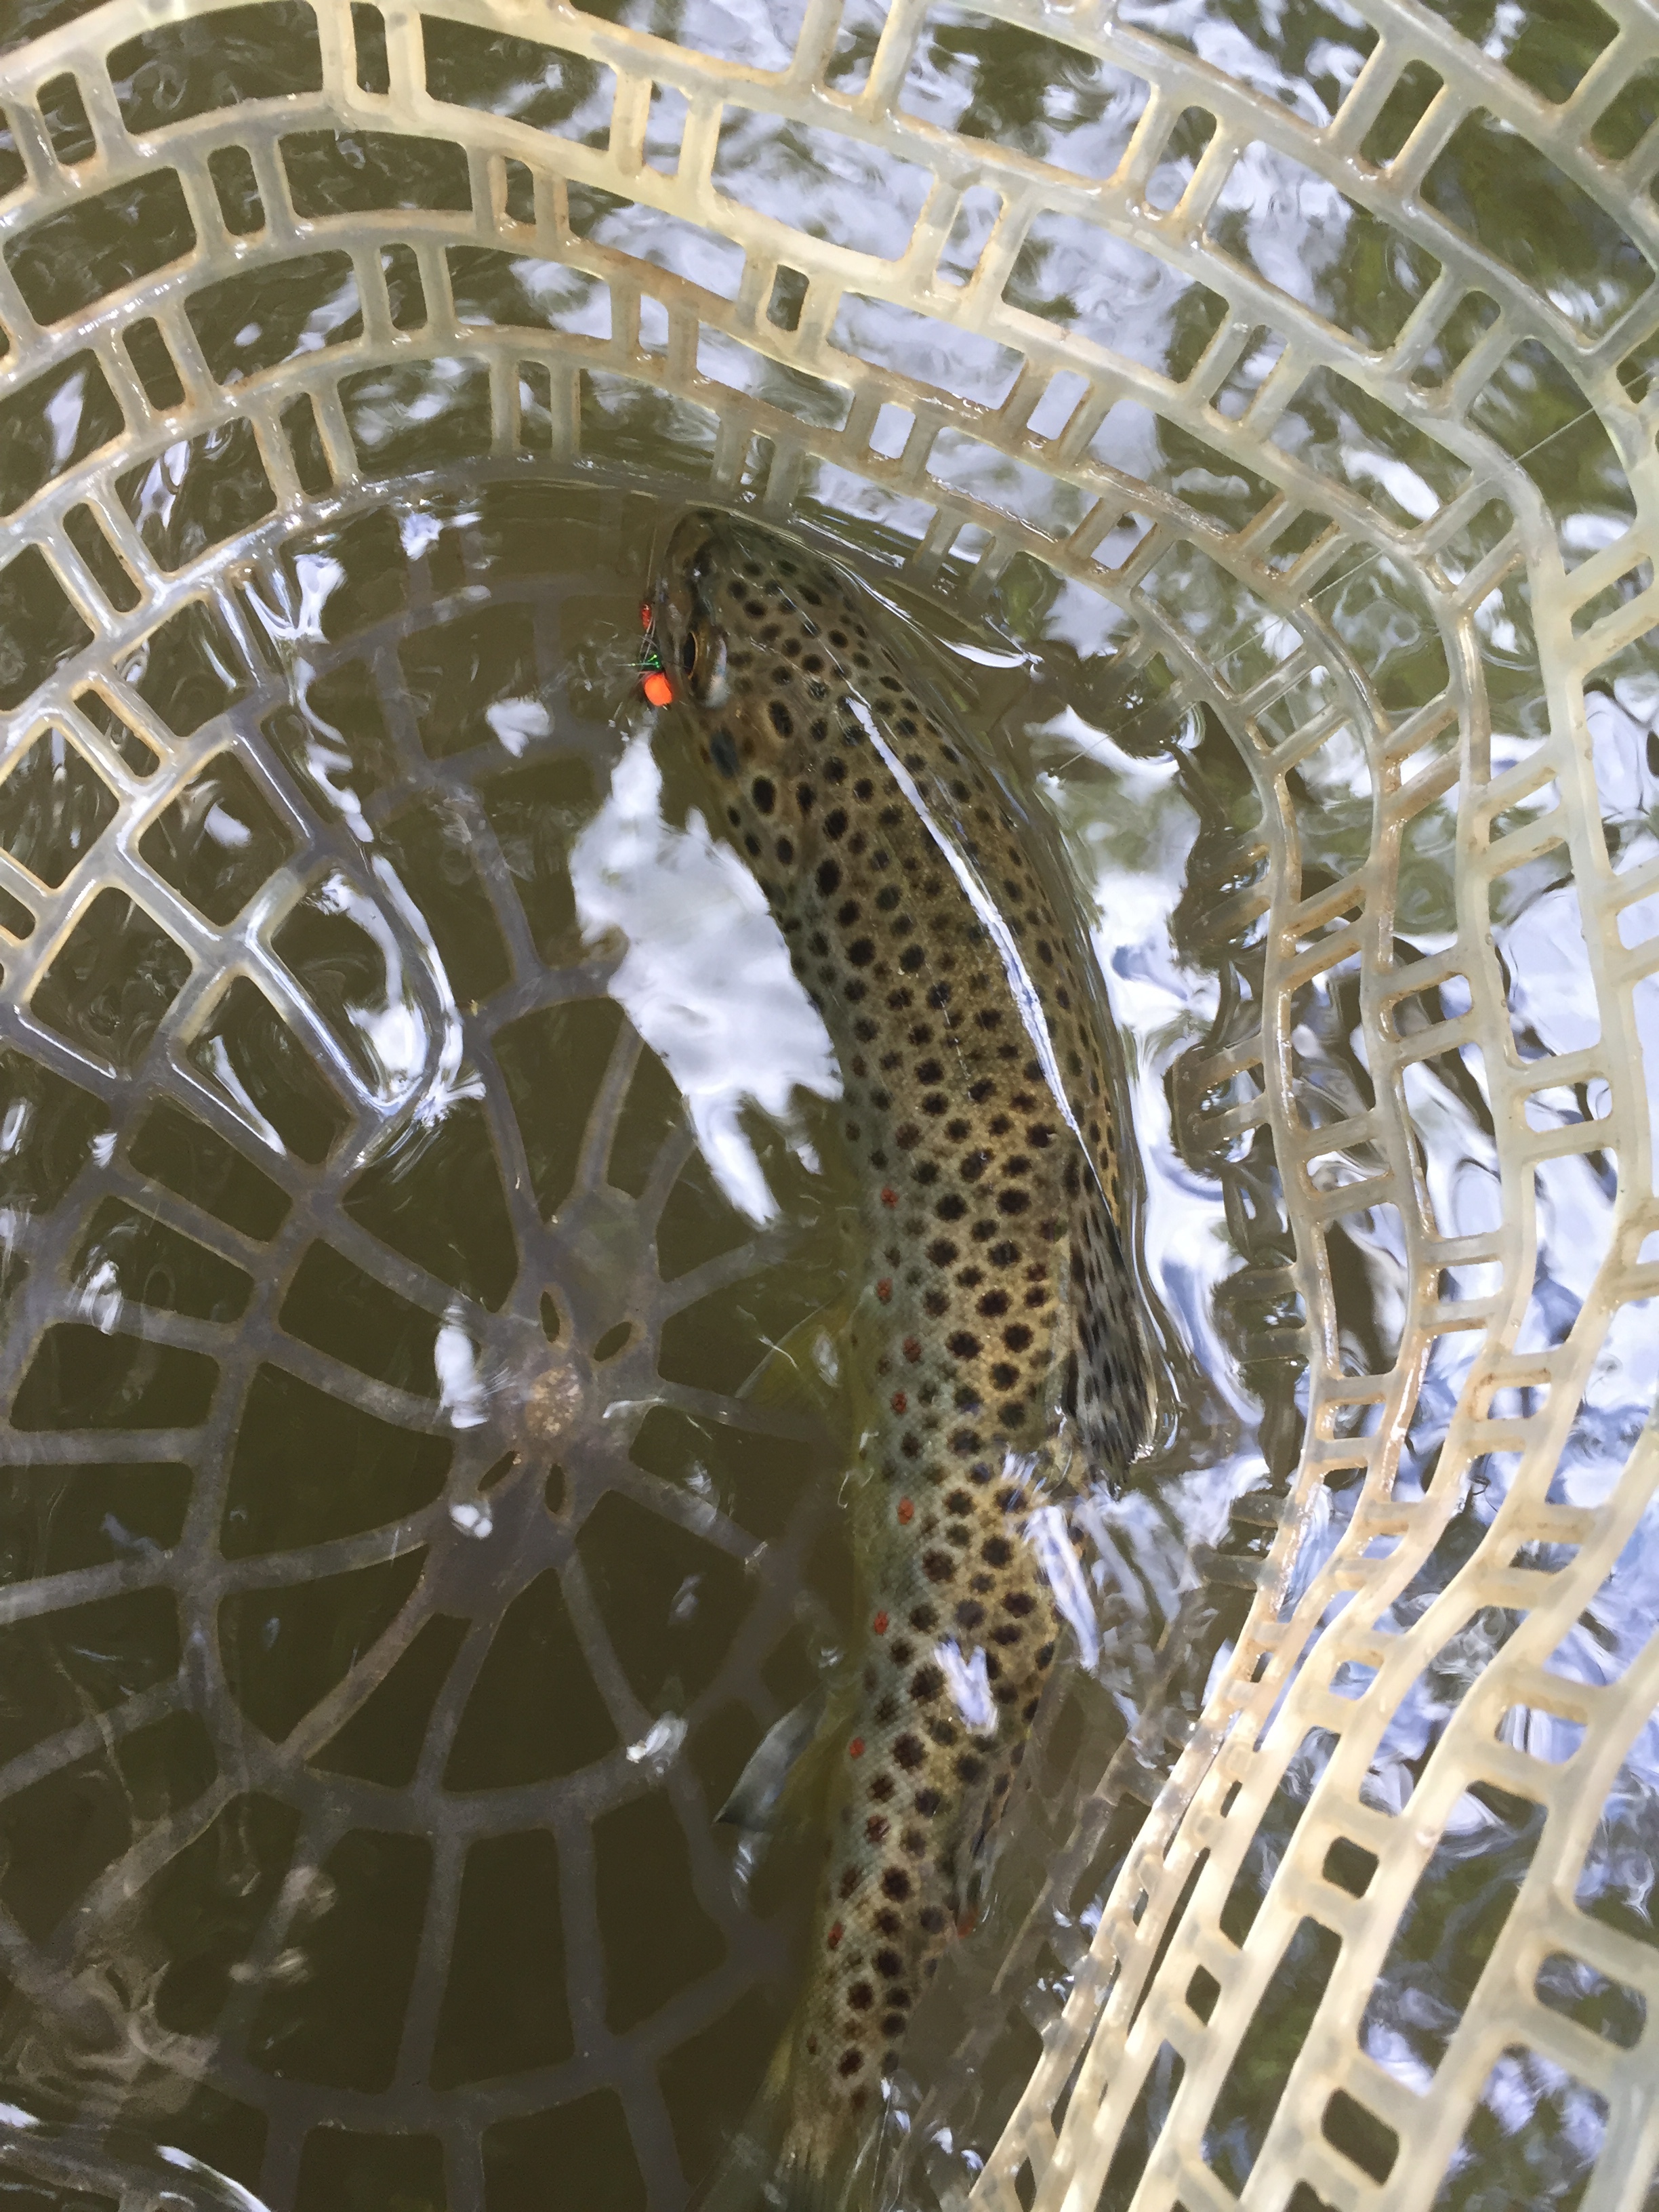
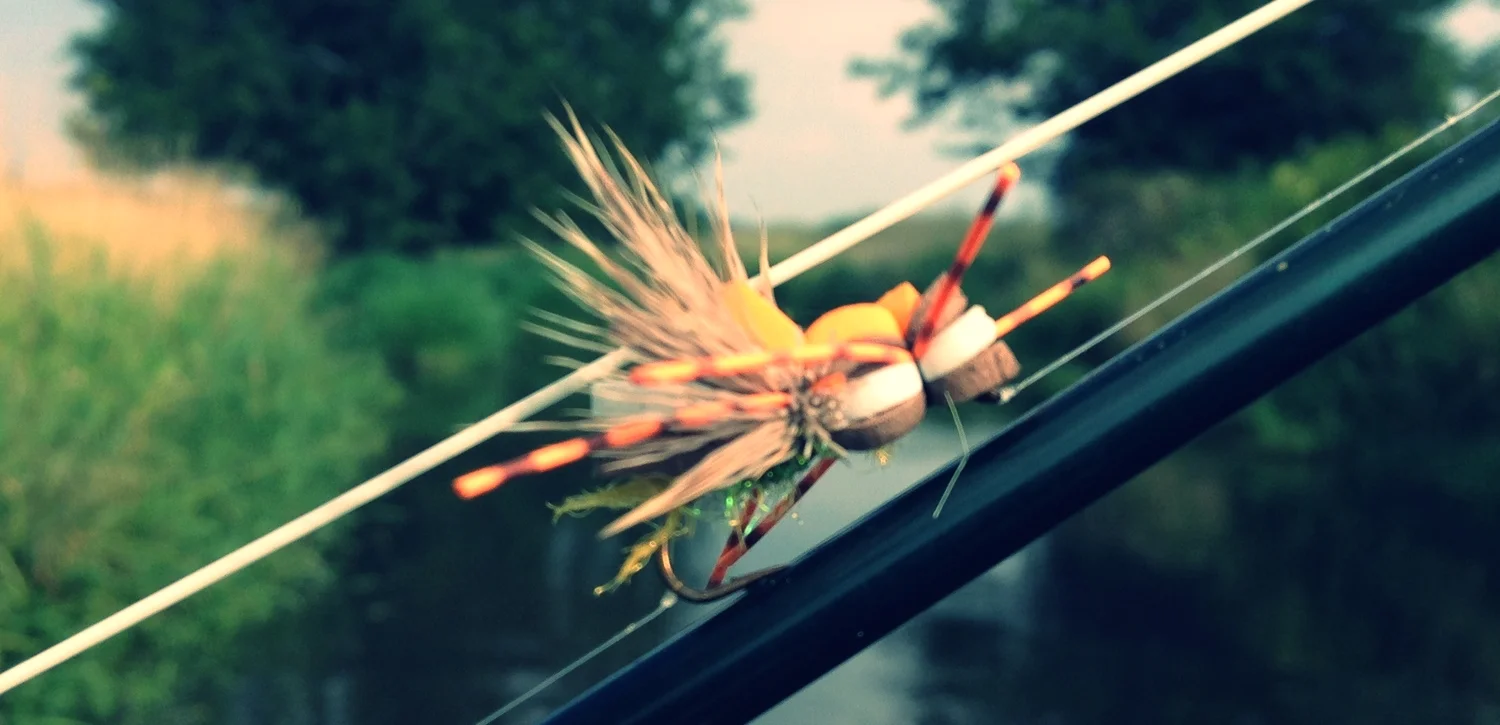
Deacon Eater
Inspiration for the Deacon came from my experience fishing the Brookville Tailwaters in Southern Indiana and also the Amish Church. A while back, Andy created the Bishop nymph, which represents the head of the Amish Church. In the Amish hierarchy, the Deacon is 3rd in command to the Bishop. The Deacon of the church is responsible for a multitude of tasks, much like the Deacon nymph when I fish it. You can dead drift it, swing it, jig it, even strip it; all tactics will put fish in the net. I wanted to create a fly that would combine some of the features of the bishop with my own twist. Hot head nymphs are a staple pattern for the picky trout down at Brookville, so I decided to look into modifications that would be suitable for the Little Elkhart. I decided to substantially increase the size from a size 20 to a size 12, which allows the fish to see it in the fast current and sometimes stained water. I added a flashback wingcase for a little extra flash as well as soft hackle to bring the fly to life when it is fished with a retrieve. My absolute favorite style of fishing this nymph is as a bugger dropper with the Deacon dropped off approximately 18" of a tungsten conehead bugger. Dead drift the fly through a run, let it swing up, give it a twitch or two, and bam! You're in business! I have caught rainbows on this fly, however, it seems to be a favorite of the browns.


Step 1: Slide bead on hook and place in vise. Start thread behind bead and wrap to the bend of the hook.

Step 2: Cut 7 or more fibers of pheasant tail that are slightly longer than the shank of the hook and tie them in at the bend of the hook. Tie up to the bead and then return the thread back down to the bend.

Step 3: Tie in 2 inch section of small copper ultra wire. Apply Orvis Sow Scud Dark Rainbow dubbing to the thread for approximately 4 to 5 inches (you can also use a dubbling loop if so inclined). Use your fingers to “mat" the dubbing to the thread by briskly twisting in the same direction. Wrap dubbing up to the bead. The dubbing should be bushy. Make sure to taper the body as well as you will see in the next photo.
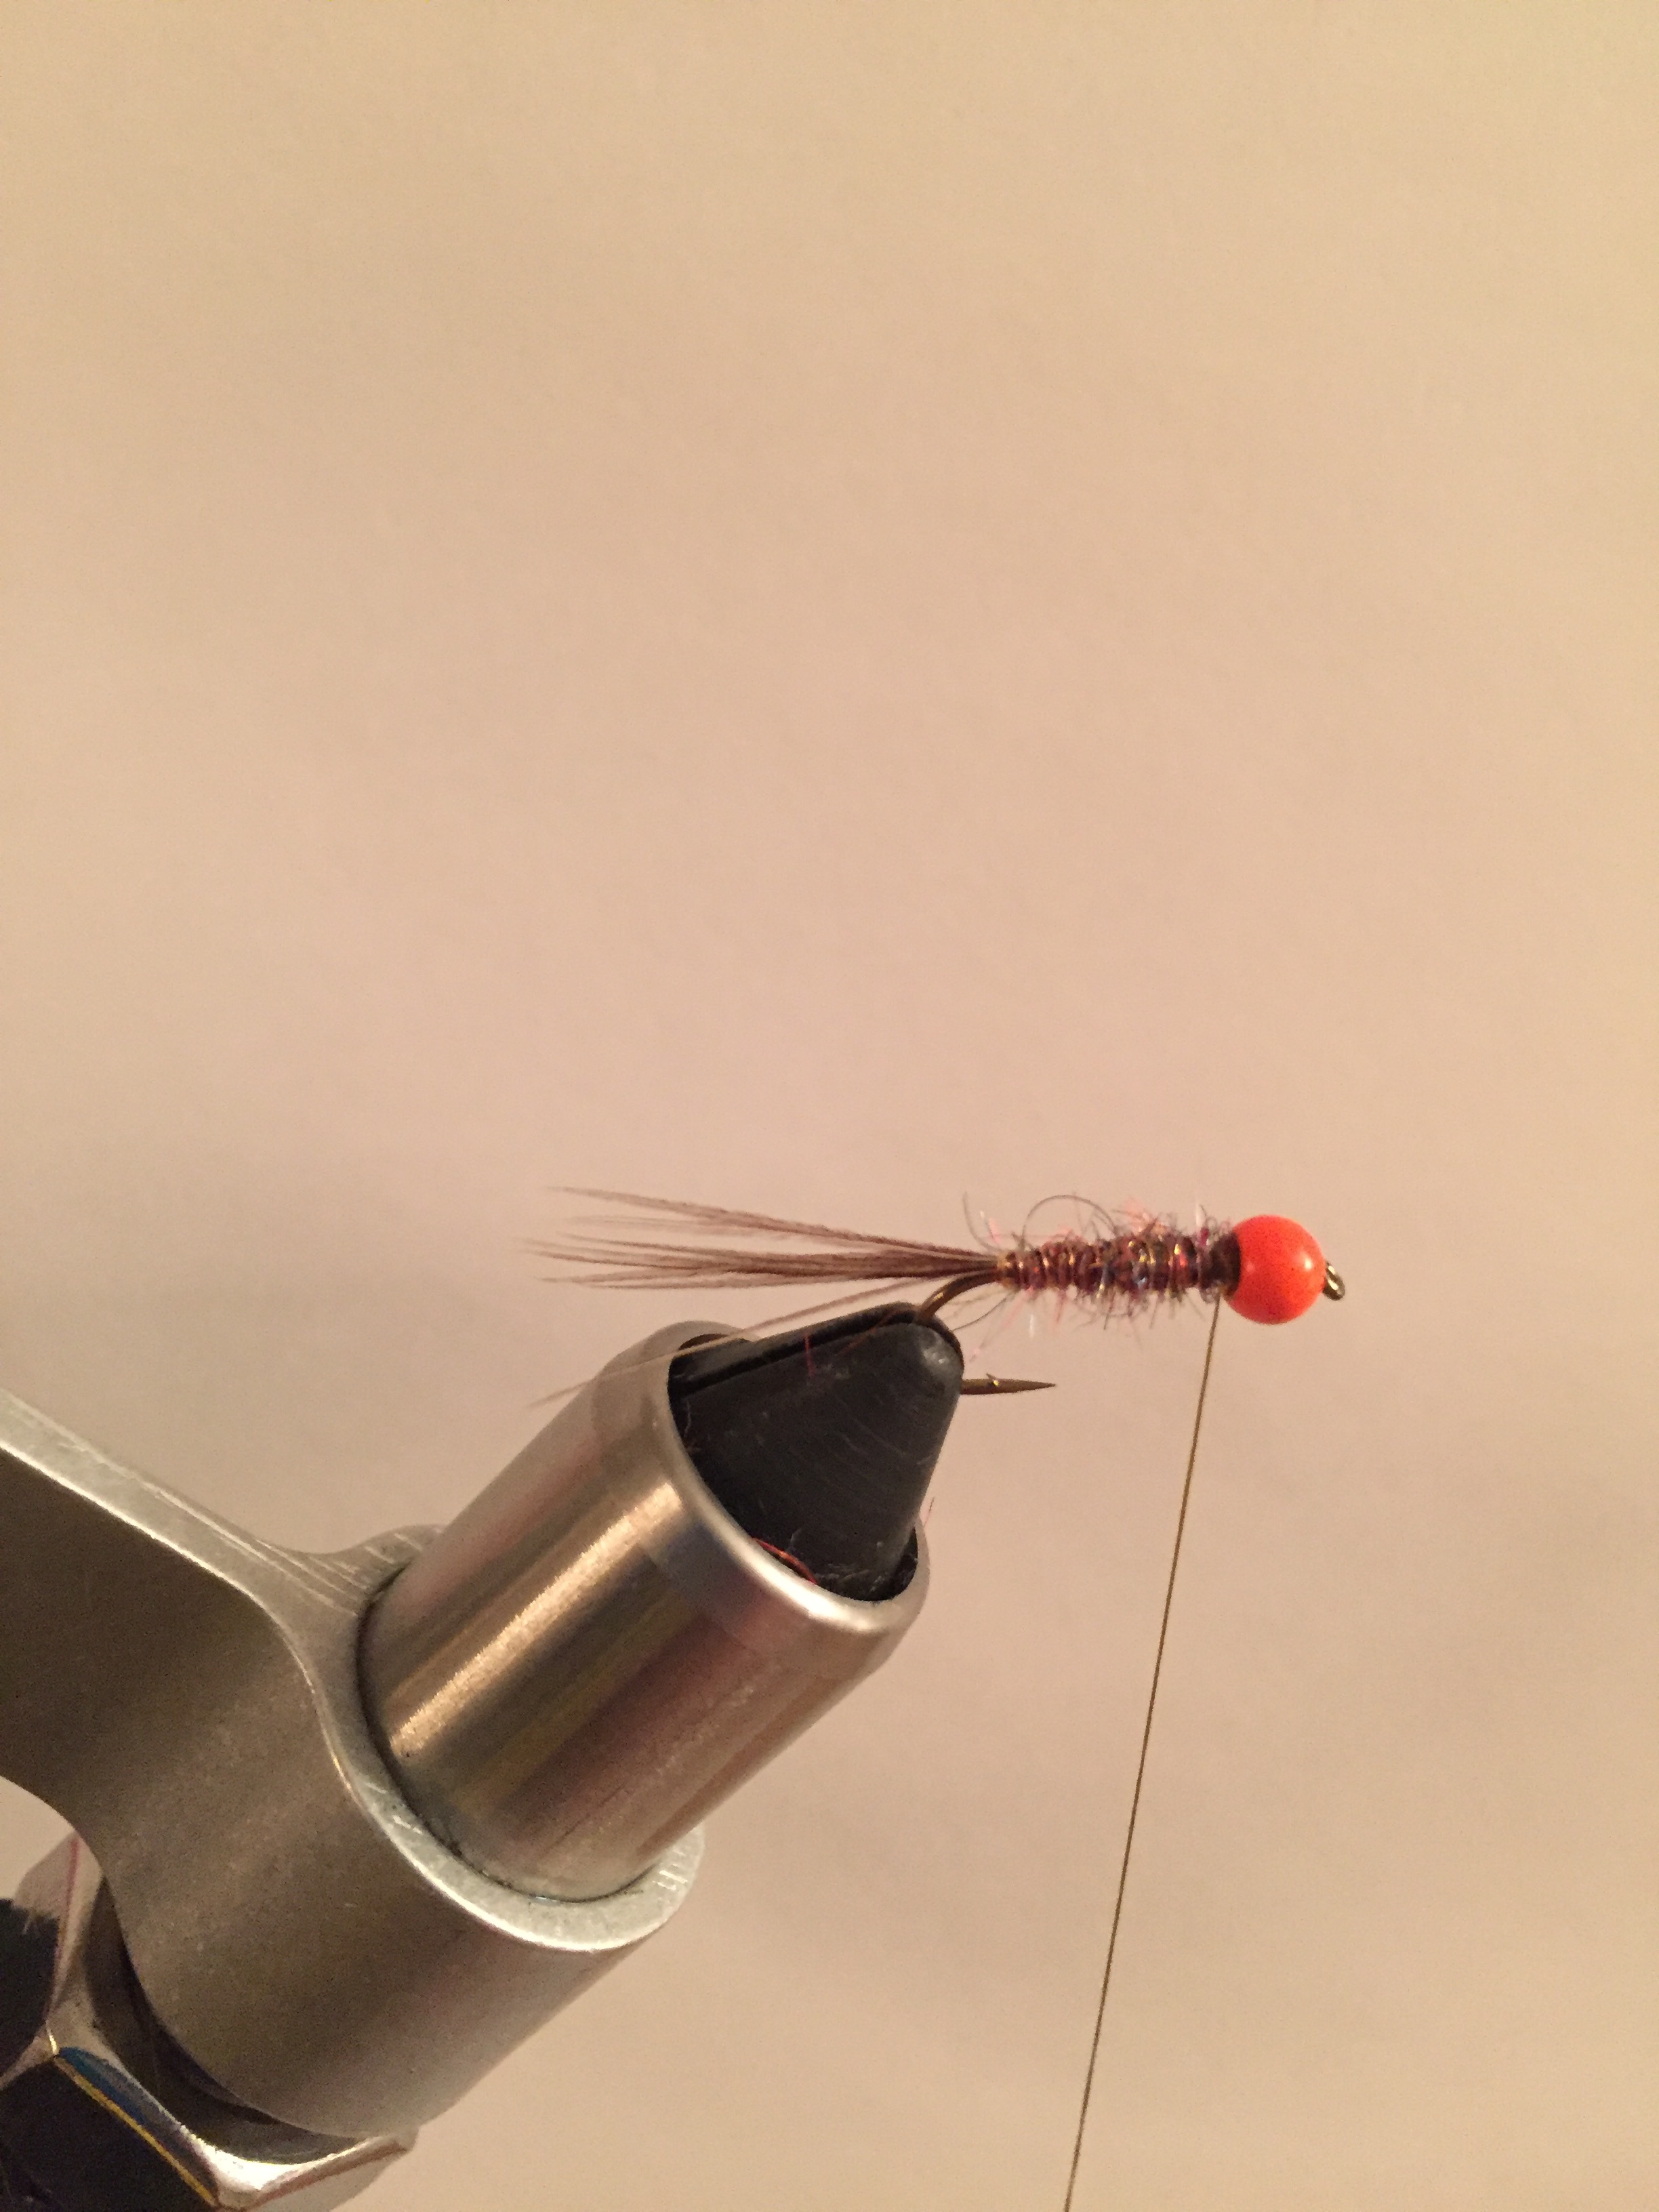
Step 4: Wrap the copper wire in the opposite direction as the dubbing up to the bead. Tie off the copper wire and neatly trim any out of place dubbing on the body. A little bushiness is encouraged.

Step 5: Tie in a 1" section of mirage of Mirage Pearl UTC tinsel directly behind the bead. Wrap down approximately one quarter of the hook shank with pearl tinsel.

Step 6: Apply peacock green dubbing to the thread and wrap up to the bead. Bushiness is definitely encouraged here. Then, pull the tinsel over top of the thorax you have just created and give it several tight wraps, making sure the tinsel stays centered on top. Trim the tag end of the tinsel off close.
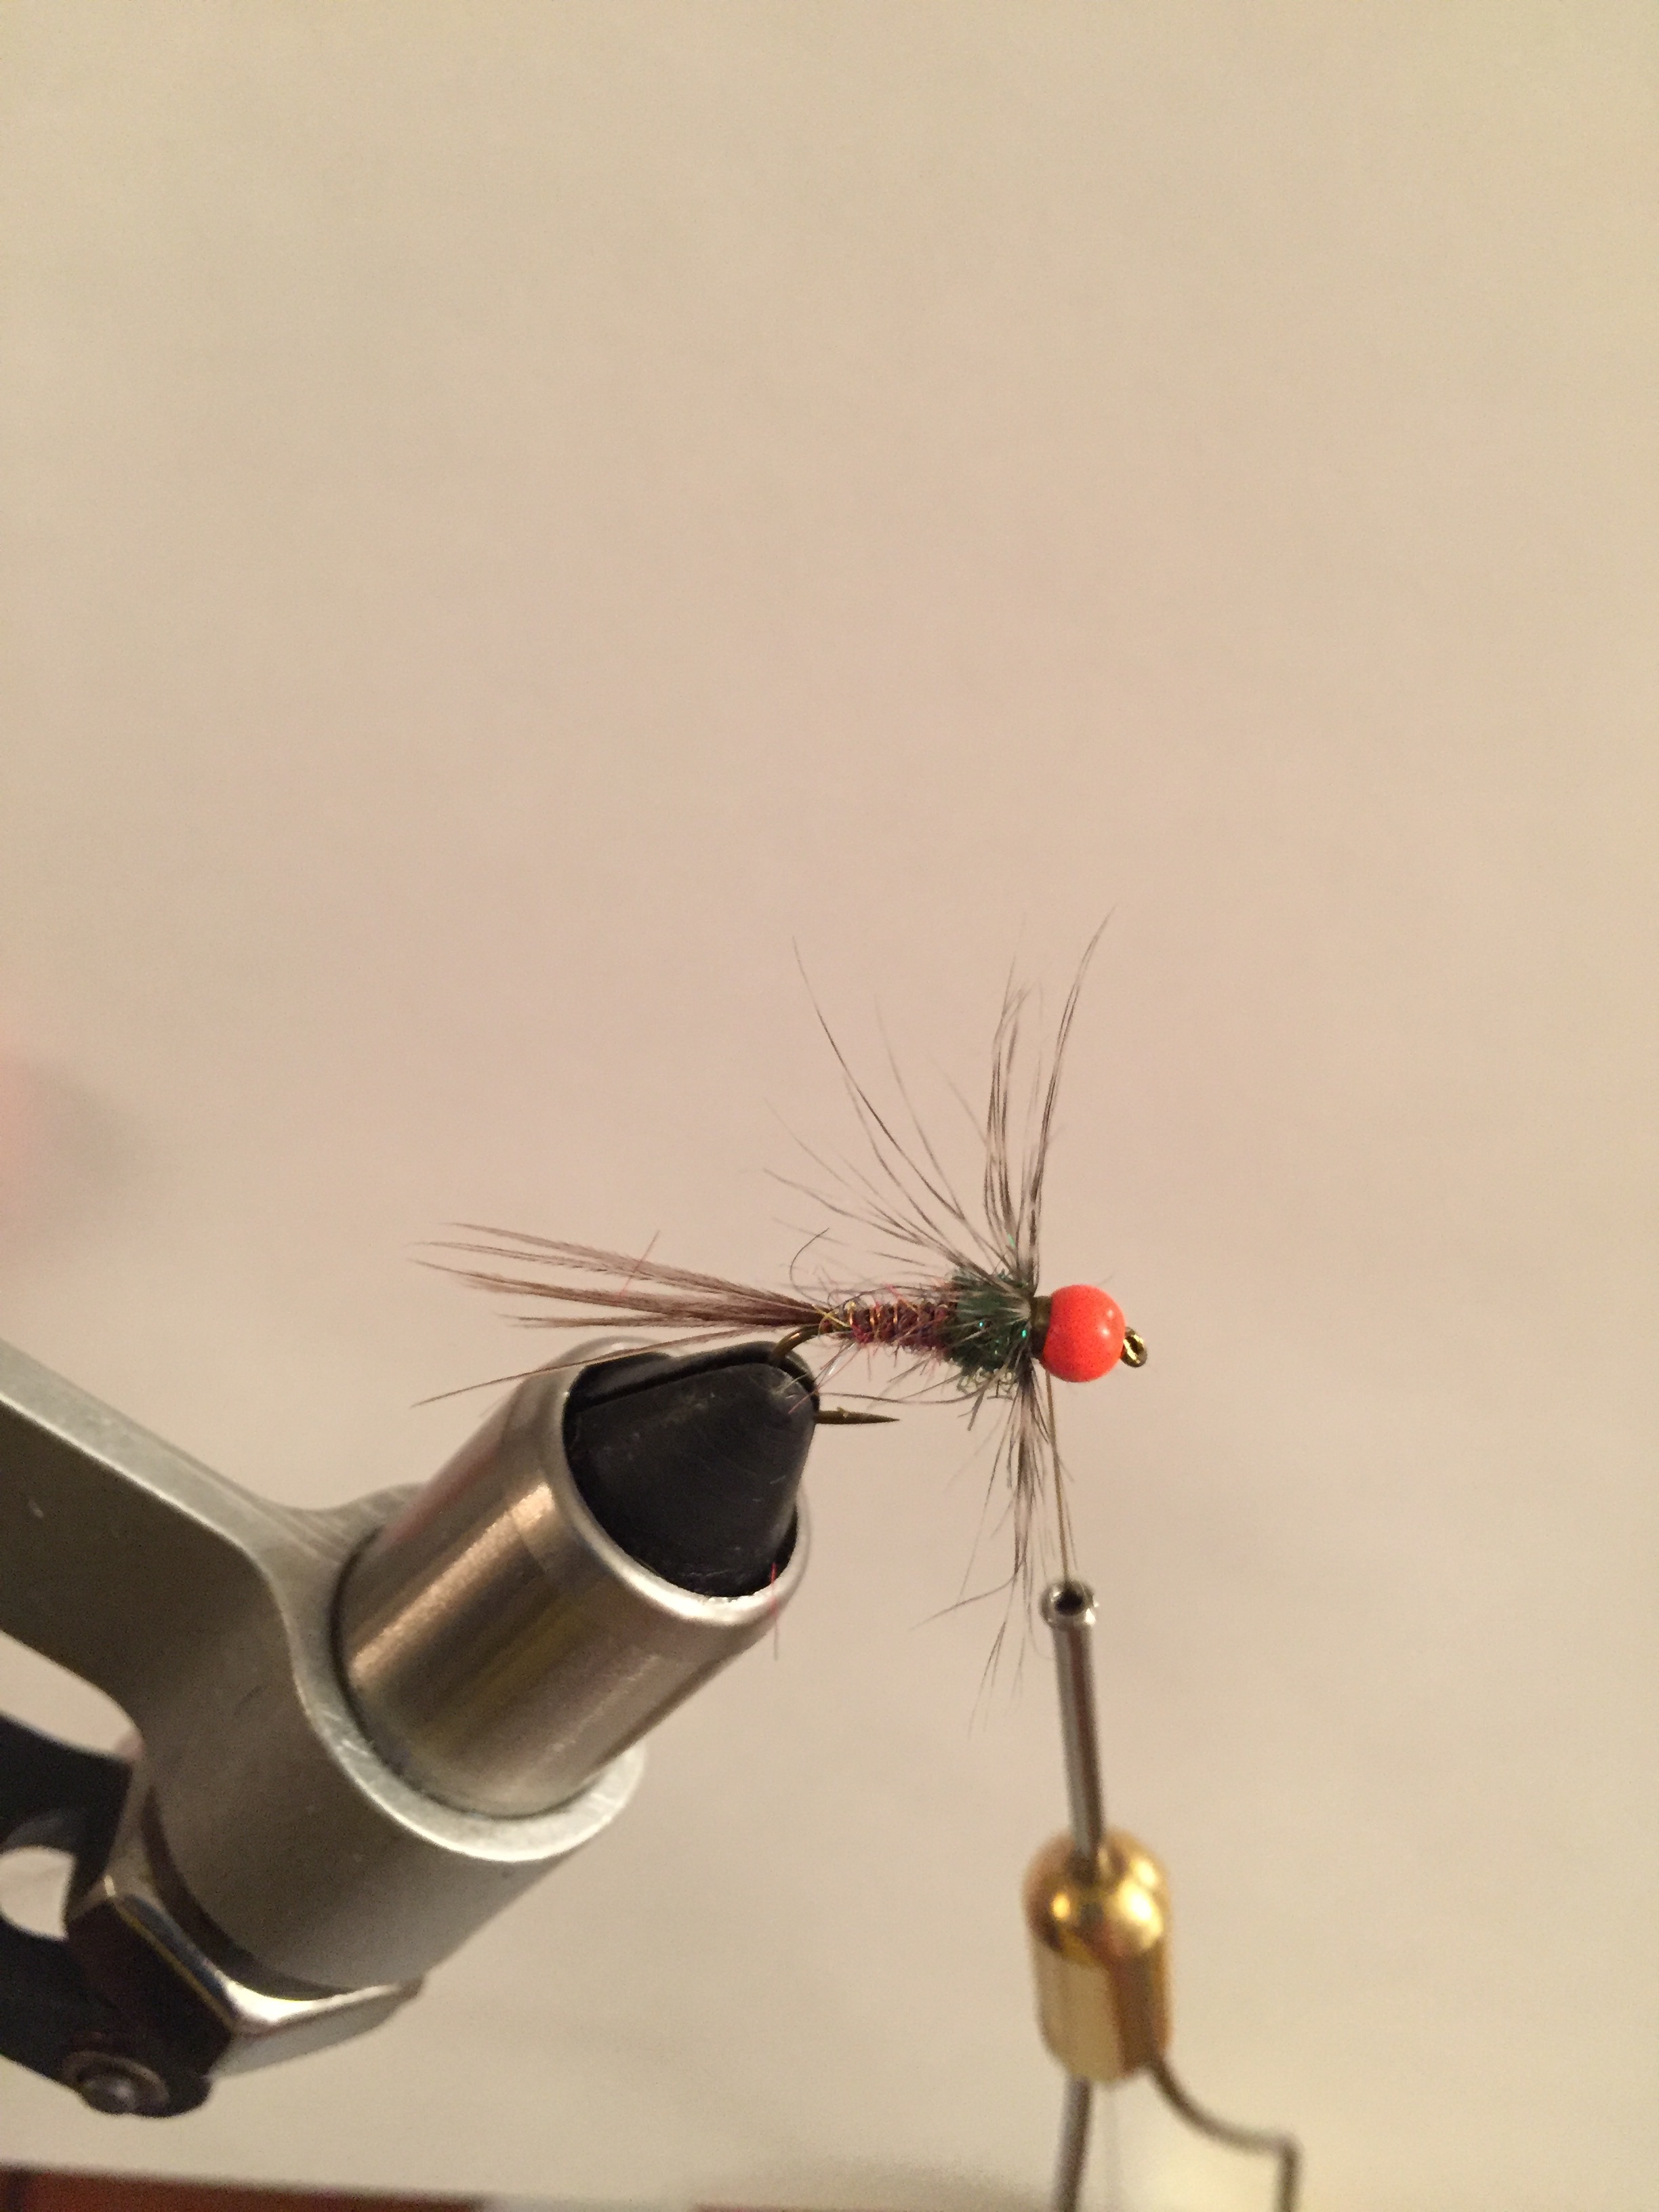
Step 7: Finally, tie in the soft hackle and make 2 quick wraps. Stroke the fibers rearward and give them wraps to anchor them in place. Trim off tag end of hackle. Whip finish and apply a small amount of zap a gap for durability as this fly will get hammered when fished properly.